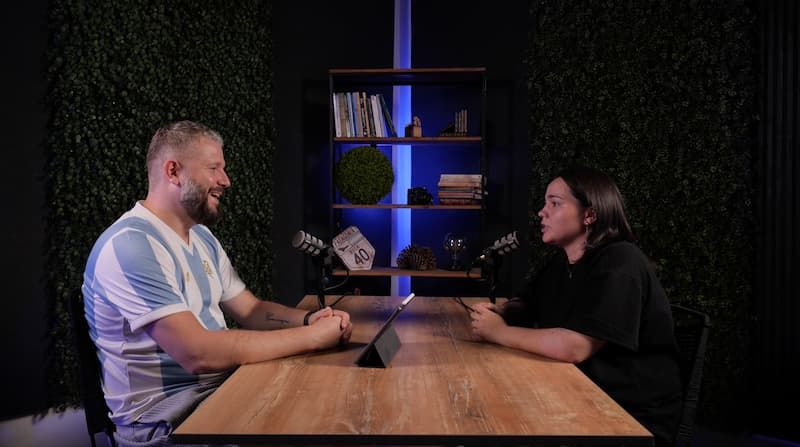
A podcast needs three things: clean audio, a look that matches what your audience expects (if it’s a video podcast), and a prepared script. The gear and the order of prep after that depend on where you’re publishing: audio-only platforms, or also YouTube and social.
The order of steps
In short, prepare in this order:
- Decide the platforms: audio only, or video too.
- For video, define the look your audience expects and decide whether you shoot it yourself or go to a studio.
- Talk through the set with a video director and camera operator: background, lighting, framing to match the podcast’s style.
- Pick clothes to match that set — the camera has limits of its own here.
- Prepare the podcast script.
- Before the main recording, check your levels and shoot a short test take.
- If you’re planning social clips, record the hook questions separately after the main recording.
Where to start: audio only, or video too
The first decision is platforms. If it’s audio-only — Spotify and podcast aggregators — the picture doesn’t matter, and all the effort goes into sound: a studio with a good microphone, or, if you’re recording at home, sound set up carefully on your own.
If you want a video podcast, first define your audience and the look they expect. A premium studio picture needs cameras, properly set lighting and correct exposure. You can’t put that together at home, and this is the step where you decide whether to shoot it yourself or go to a studio.
Sound: why it gets heard before the content does
Podcast audio matters more than picture: most people listen on headphones, where any flaw stands out immediately. Platforms hold a hard line: Apple Podcasts requires −16 LUFS (±1 dB), Spotify normalizes loudness to −14 LUFS, and both bring every episode to their own standard on upload regardless. If a recording is quiet or uneven, normalization stretches all the noise that got in right along with the voice — at that point the microphone can’t save it anymore.
The second source of problems is the room, not the microphone, and it’s not just about square meters. Boominess and echo usually come from the shape of the room: the Acoustical Society of America warns that square room proportions produce resonances and uneven sound, and bare parallel walls and ceilings only add more reflection. That’s why a furnished rectangular room often sounds better than one that’s formally bigger, but empty and square.
Audio gets cleaned up with AI at scale these days, and that processing often costs the microphone its actual quality: the sound comes out uneven, with artifacts. If the microphone and the room already record clean, heavy AI cleanup only hurts.
What microphone you need if there are several of you
Microphones come in two types, and for several people talking in one room that difference matters more than the price of any particular model. Condensers are more sensitive and sound more detailed in the high end — that’s why treated studios like them. But Shure warns that in an untreated room a condenser picks up the hiss of the ventilation and mouth noise along with the voice, while a dynamic microphone masks those irritants naturally. Hence the practical consequence: when two or four people sit at the table, every microphone also hears the others, and the less sensitive type keeps the voices from blending.
The second thing is distance: the closer the microphone is to the mouth, the louder the voice sits against the room and its reflections. That’s why podcast stands sit close to the participants — that way the voice outweighs the room.
Our room is acoustically treated ahead of time, so for podcasts we use whichever studio gear fits best: RODE microphones and a Behringer console, and the recording already comes out in the right range without much post-processing needed.
Headphones, and what to record onto
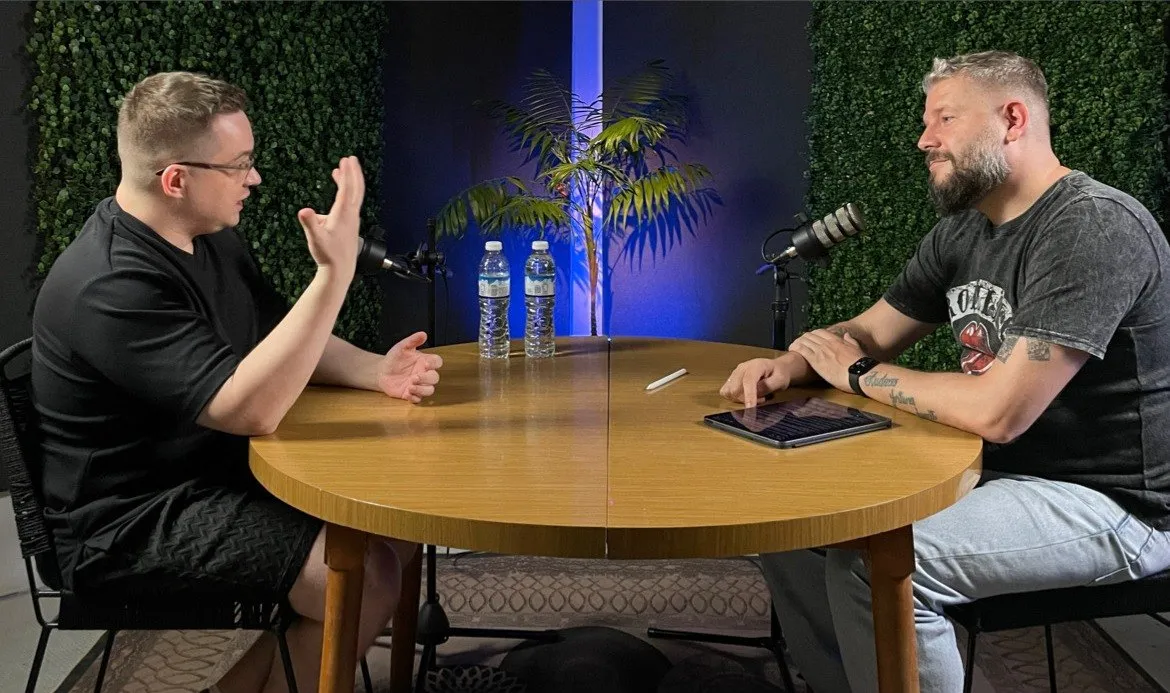
Headphones are for everyone who speaks into a microphone: Spotify calls them your quality control system — they let you hear what actually made it into the recording while it can still be fixed. Get closed-back ones: they seal around the ear and don’t let sound leak out, so what plays in the other person’s ears doesn’t bleed into the microphone. Wired is more reliable than wireless — the connection won’t drop mid-sentence.
Next comes where the signal goes. A USB microphone plugs straight into the computer and needs nothing in between: it’s the shortest path to a first recording. Microphones with an XLR connector give more control over the sound, but they need a device to collect the signals and pass them to the computer — an interface or a mixing console. As soon as there’s more than one microphone at the table, the console stops being optional: there’s nowhere else for the voices to come together.
Recording software decides almost nothing at the start — the same Spotify list puts free Audacity next to professional Logic Pro and Adobe Audition. The difference between them shows up in editing.
At our place the microphone signal goes into a Behringer console, audio and video are recorded in sync, and what you get on output is material ready for editing.
Picture: light, exposure and framing
A video podcast’s picture rests on three things: light, exposure and framing. The standard lighting setup uses three sources: a key light on the face, fill light to remove hard shadows, and a backlight to separate the person from the background. We set exposure for the specific camera and lens, not by eye — otherwise the face is either blown out or lost in shadow already at the recording stage, and editing can’t fix that. Framing is also decided ahead of time and by format: horizontal for YouTube and a separate vertical frame for Reels and Shorts, not a crop of a finished shot after the fact.
Our video director and camera operator put that setup together: several 4K cameras, synced audio and video on output, Godox and RAYLAB lighting set for the goal — a premium podcast, a warm conversational look, or your own idea. For livestreams, we switch cameras in real time on a Blackmagic ATEM video switcher. We have a teleprompter and a return monitor, but not everyone needs them: some guests speak more confidently without them.
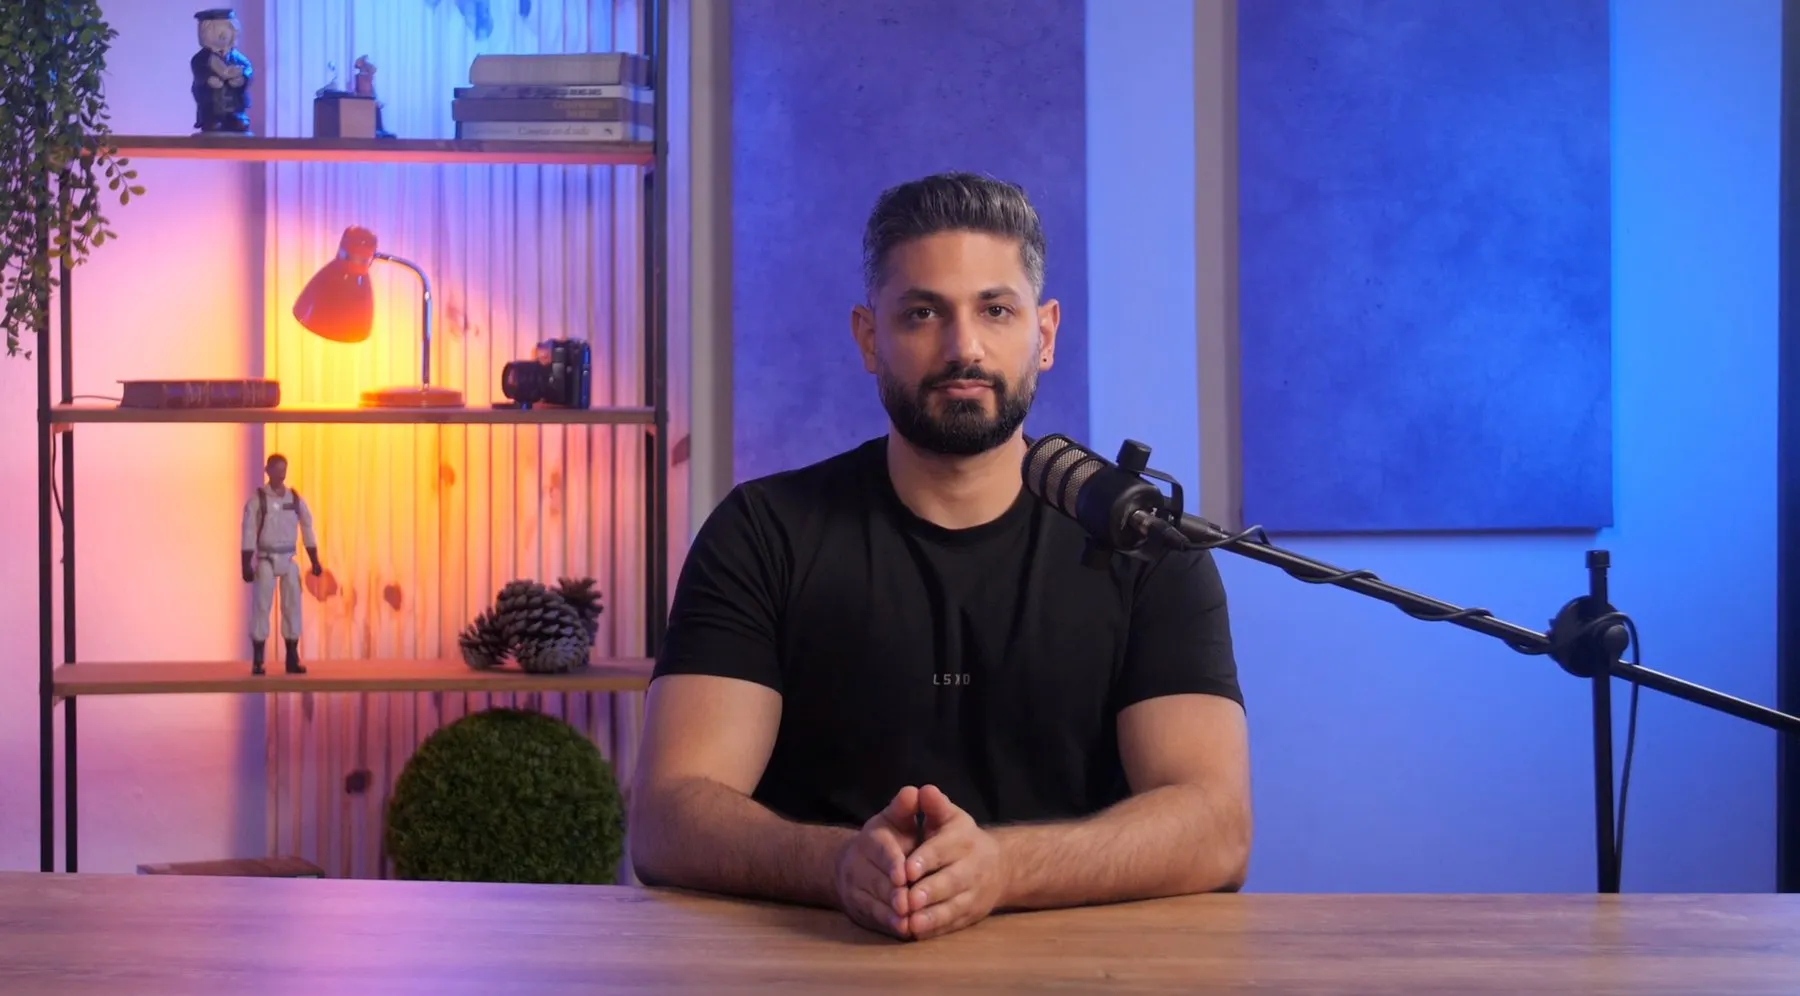
We pick the background to match the podcast’s style: solid color for interviews without extra detail in frame, an interior set for a warmer, more conversational look.
What to wear on camera
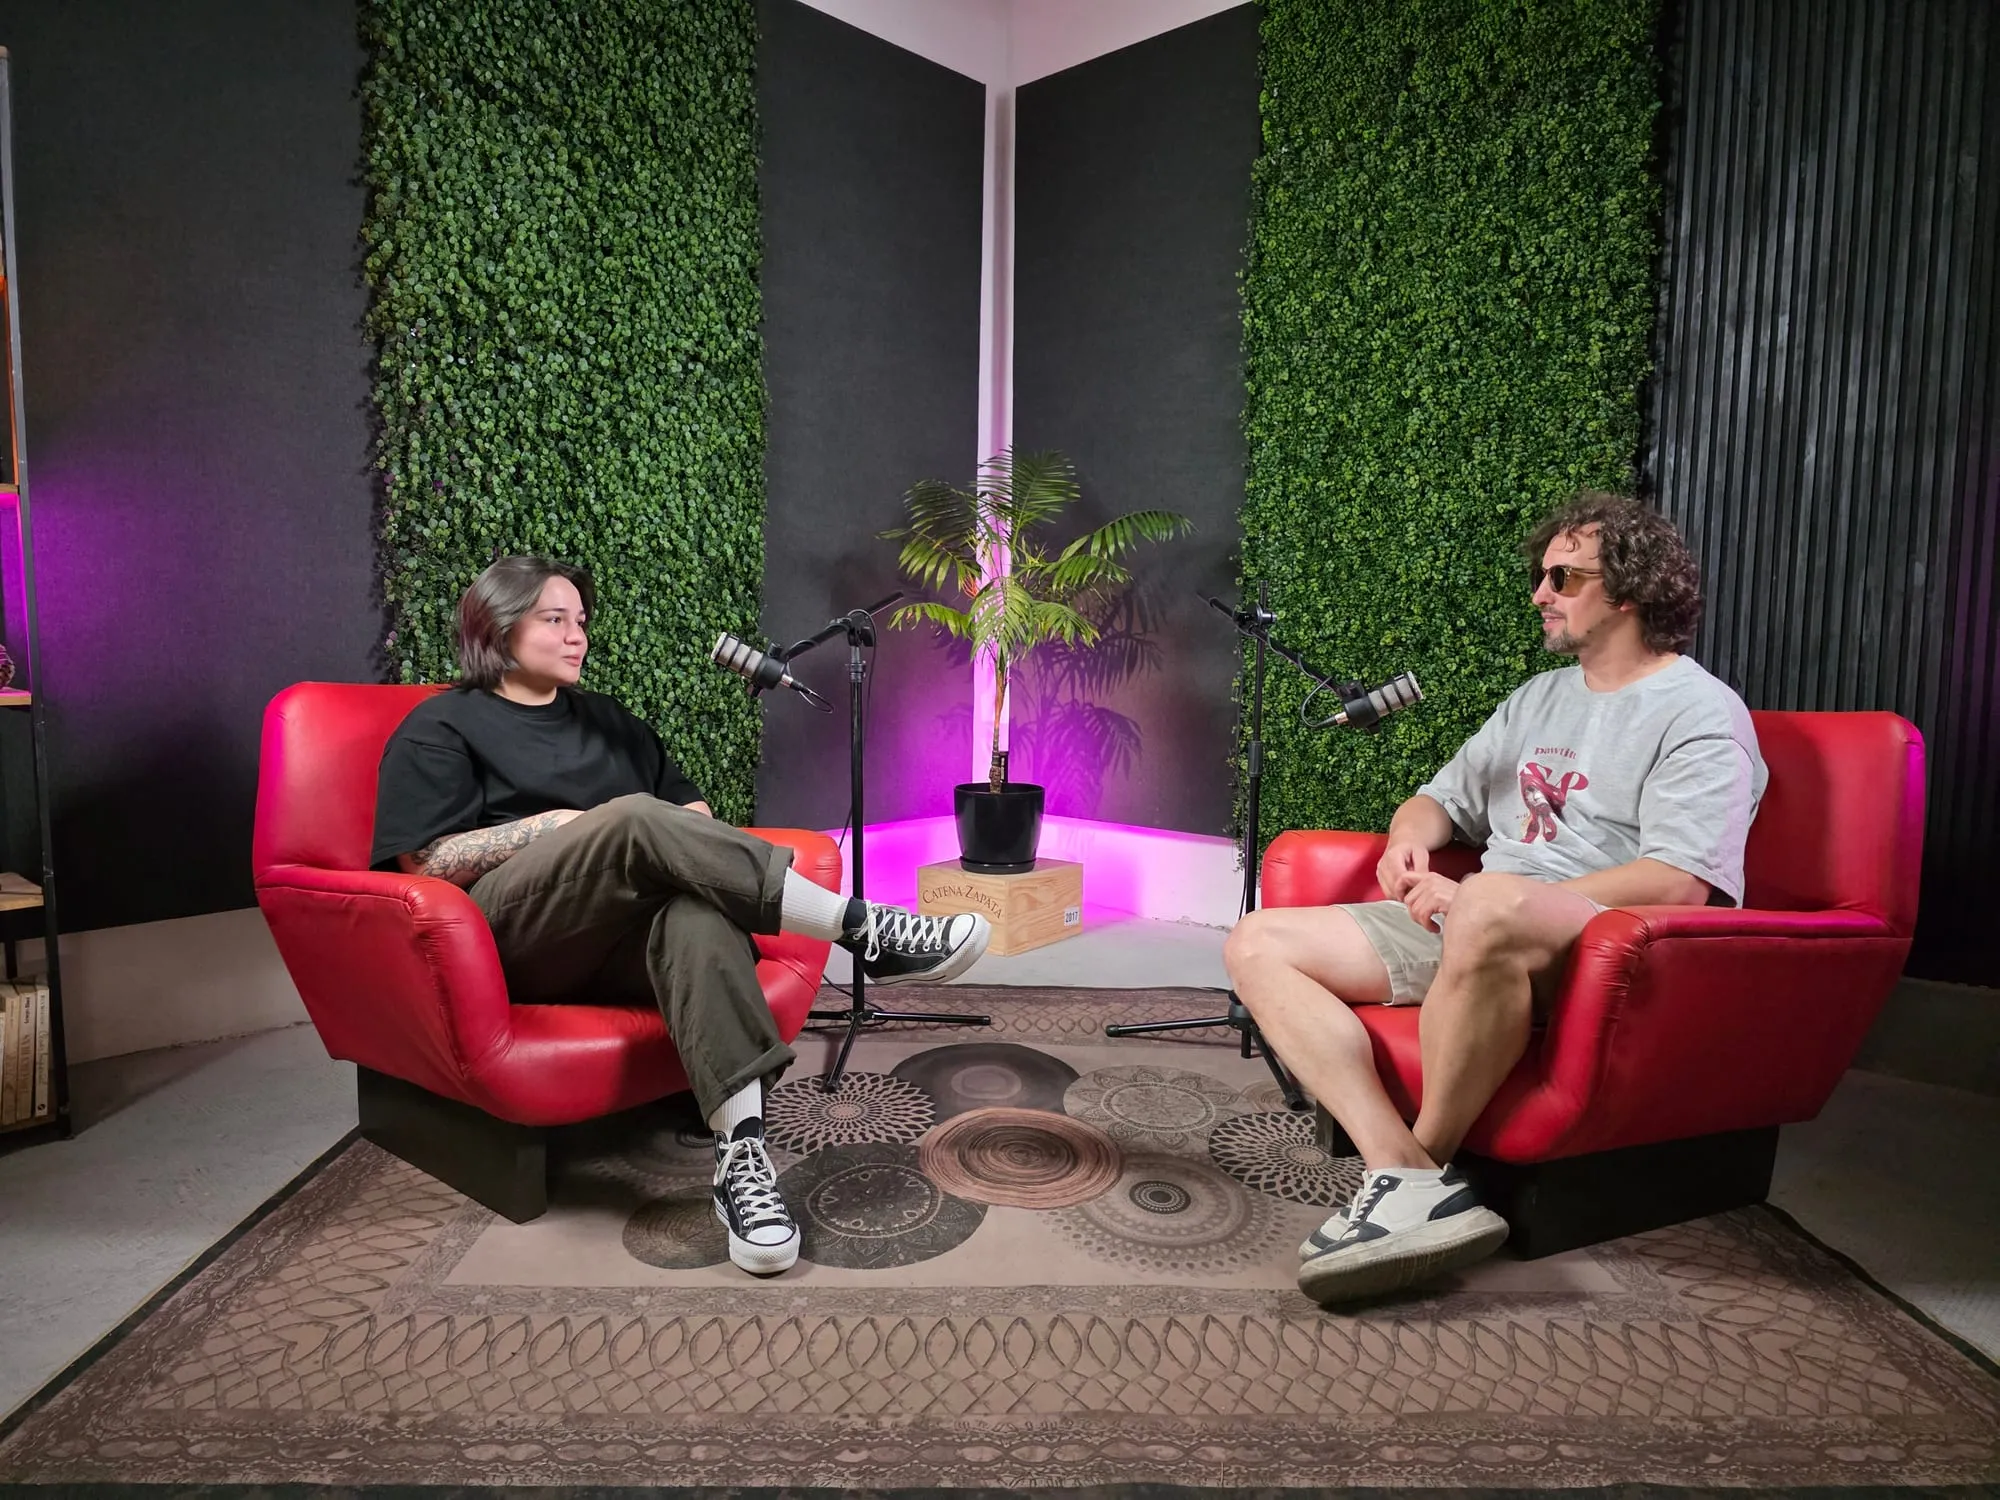
Clothing is picked to match the background you chose, and here the camera has limits the eye doesn’t. Small checks, thin stripes, herringbone and polka dots start to shimmer and swim on camera — that’s moiré. The cause is technical: the sensor’s pixel grid is itself a regular pattern, and when a second regular pattern with a similar spacing lands on it, the two add up to a third one that was never in the room. You can’t take it out entirely in editing: filtering helps at the cost of sharpness across the whole frame.
That gives you simple rules: plain items and large patterns are safe, small repeating ones are not. Calm colors work better than loud ones, and clothing in the same tone as the background merges with it and eats the depth out of the shot.
Checking this ahead of time is easy — show the camera operator your clothes before the recording, and a questionable shirt will show up on the monitor within half a minute.
Script and hooks for social
The first question about the script is how much detail to write. Buzzsprout answers it this way: a word-for-word draft is warranted for audio dramas and some solo episodes, but reading one naturally is a craft of its own and has to be learned. Most people do fine with a flexible outline: it keeps the focus and doesn’t get in the way of speaking in your own words.
Hence a working rule: the more live conversation an episode has, the less written text it carries. An interview with a guest runs off a list of topics and questions — written lines fall apart by the second minute anyway. A monologue on a complex topic, on the other hand, gains from text: precision of wording matters there. The middle ground is often the practical one: opening and closing written word for word, because they sound the same episode after episode, while the body runs on talking points.
The podcast script is its own piece of prep, and it’s more than just a conversation outline. If you’re planning to cut the episode into short clips for Reels, TikTok and Shorts, the clip’s fate is decided in the first seconds: TikTok for Business states plainly that you need to hold the viewer’s attention from the very start of the video — if the opening doesn’t hook them, the viewer scrolls past, and the platform stops showing the clip to new people. That’s why the hook question that opens a short video gets prepared in advance, not dug out of an hour-long recording afterward.
The order is:
- Build hook questions into the script — the lines someone will stick around for, all the way to the end of a short clip.
- After the main recording, ask the guest the same questions again, in a separate short take: the same question, a short, tight answer, no wind-up, as if it were live conversation.
- In editing, that take opens the clip, followed right after by the relevant moment from the main recording.
One shoot day covers two versions at once: horizontal for YouTube, and vertical cuts for social.
What to check before you hit record
It stings to redo an hour of conversation because of a setting that takes a minute to check. Spotify recommends testing your microphone levels before every session and shooting a short test take to look at framing, lighting and background before the main recording.
The order is simple:
- Say a few sentences at your normal volume and watch the recording level.
- Listen back to that piece on headphones: echo, hum and background noise show up immediately.
- If you’re recording video, watch the test take in full — what ended up in the background, and how the light fell.
At our place that check is part of the shoot day: audio, lighting and framing get run through before the main recording starts, so you won’t have to think about it.
What usually wrecks a first recording
Two things keep showing up among people who come to us for a consult with a podcast they’ve already recorded.
The first is audio: the podcast isn’t growing on YouTube, and on listening you can hear boomy echo off bare walls, or volume that got flattened when the platform normalized it to its own standard, dragging the noise along with it. A listener on headphones notices that before they even get to judging the conversation itself.
The second is picture: shot on what’s barely better than a point-and-shoot, lighting not set, framing cropped however it landed — and even an interesting conversation is hard to watch, because the eye trips over the picture before it catches onto the topic.
What you can put together yourself
If all you need is audio for audio platforms, a studio isn’t the only option: a good microphone and a careful recording at home will give you an acceptable result. Cameras, properly set lighting and synced editing for a video podcast, though, are hard to put together at home.
What makes up the price of a studio recording, and why it is quoted per episode, we covered in a separate article: how much it costs to record a podcast.
If you decide to record your video podcast with us, the details and terms are on the podcast recording page in Buenos Aires.